Master Closet Built In
With the risk of revealing my age, I’d be lying if I didn’t admit that ever since seeing the movie ‘Clueless’, I’ve dreamed of a having a walk-in closet. One of the joys of this dream business of mine, is being able to create so many different and beautiful creations. Each time is learning experience and no two exactly alike.
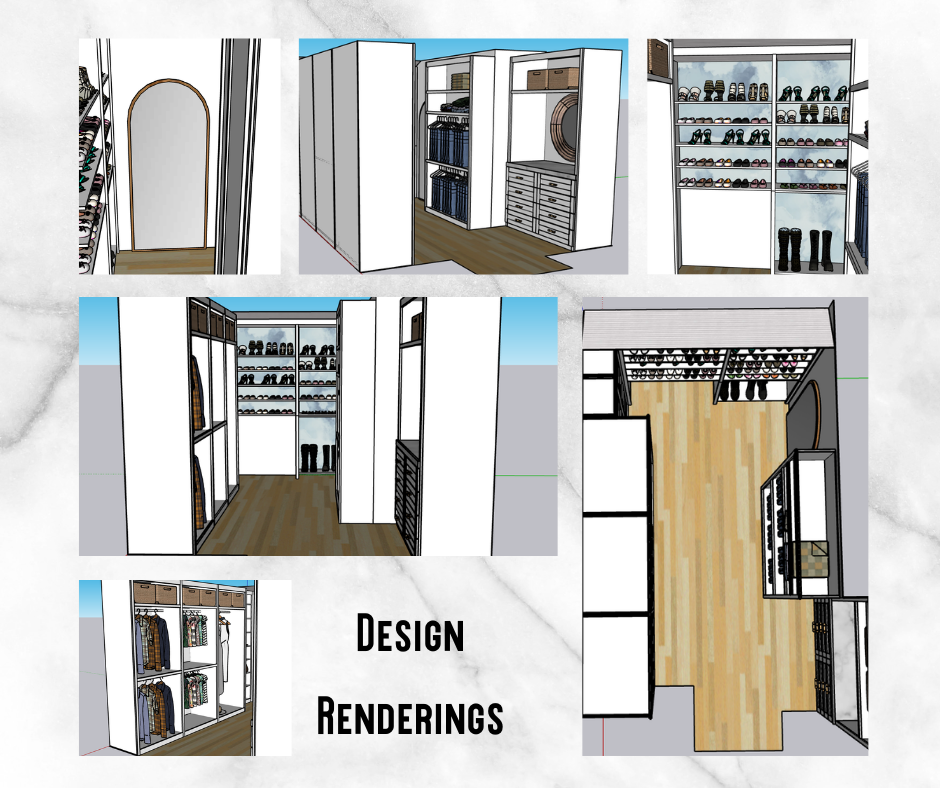
This space was a roughly 135 sq ft blank slate for us to use to create an efficient, functional and beautiful closet. During the consultation we discussed wants and needs; what the homeowner wanted to be able to store, any specific requests as well as the desired esthetic. Once I obtained all of the necessary measurements and got a sense of the style of this new home, I was able to begin designing. My goal during the design process is always to create options that both take into account the look and function of the space. I always try to think outside the box (no pun intended) to create a vision that may be unexpected for the homeowner, but in a good way. Along with the actual designs, there was a mood board created. I find this helps to truly visualize the space but also make sure I am completely understand the total package vision with each project.

The Mood Board
It’s about the finished project, the feeling of the space, creating a function and beautiful space.
Make it stand out
This process can take some back and forth, but ensures that the design is exactly the right one.
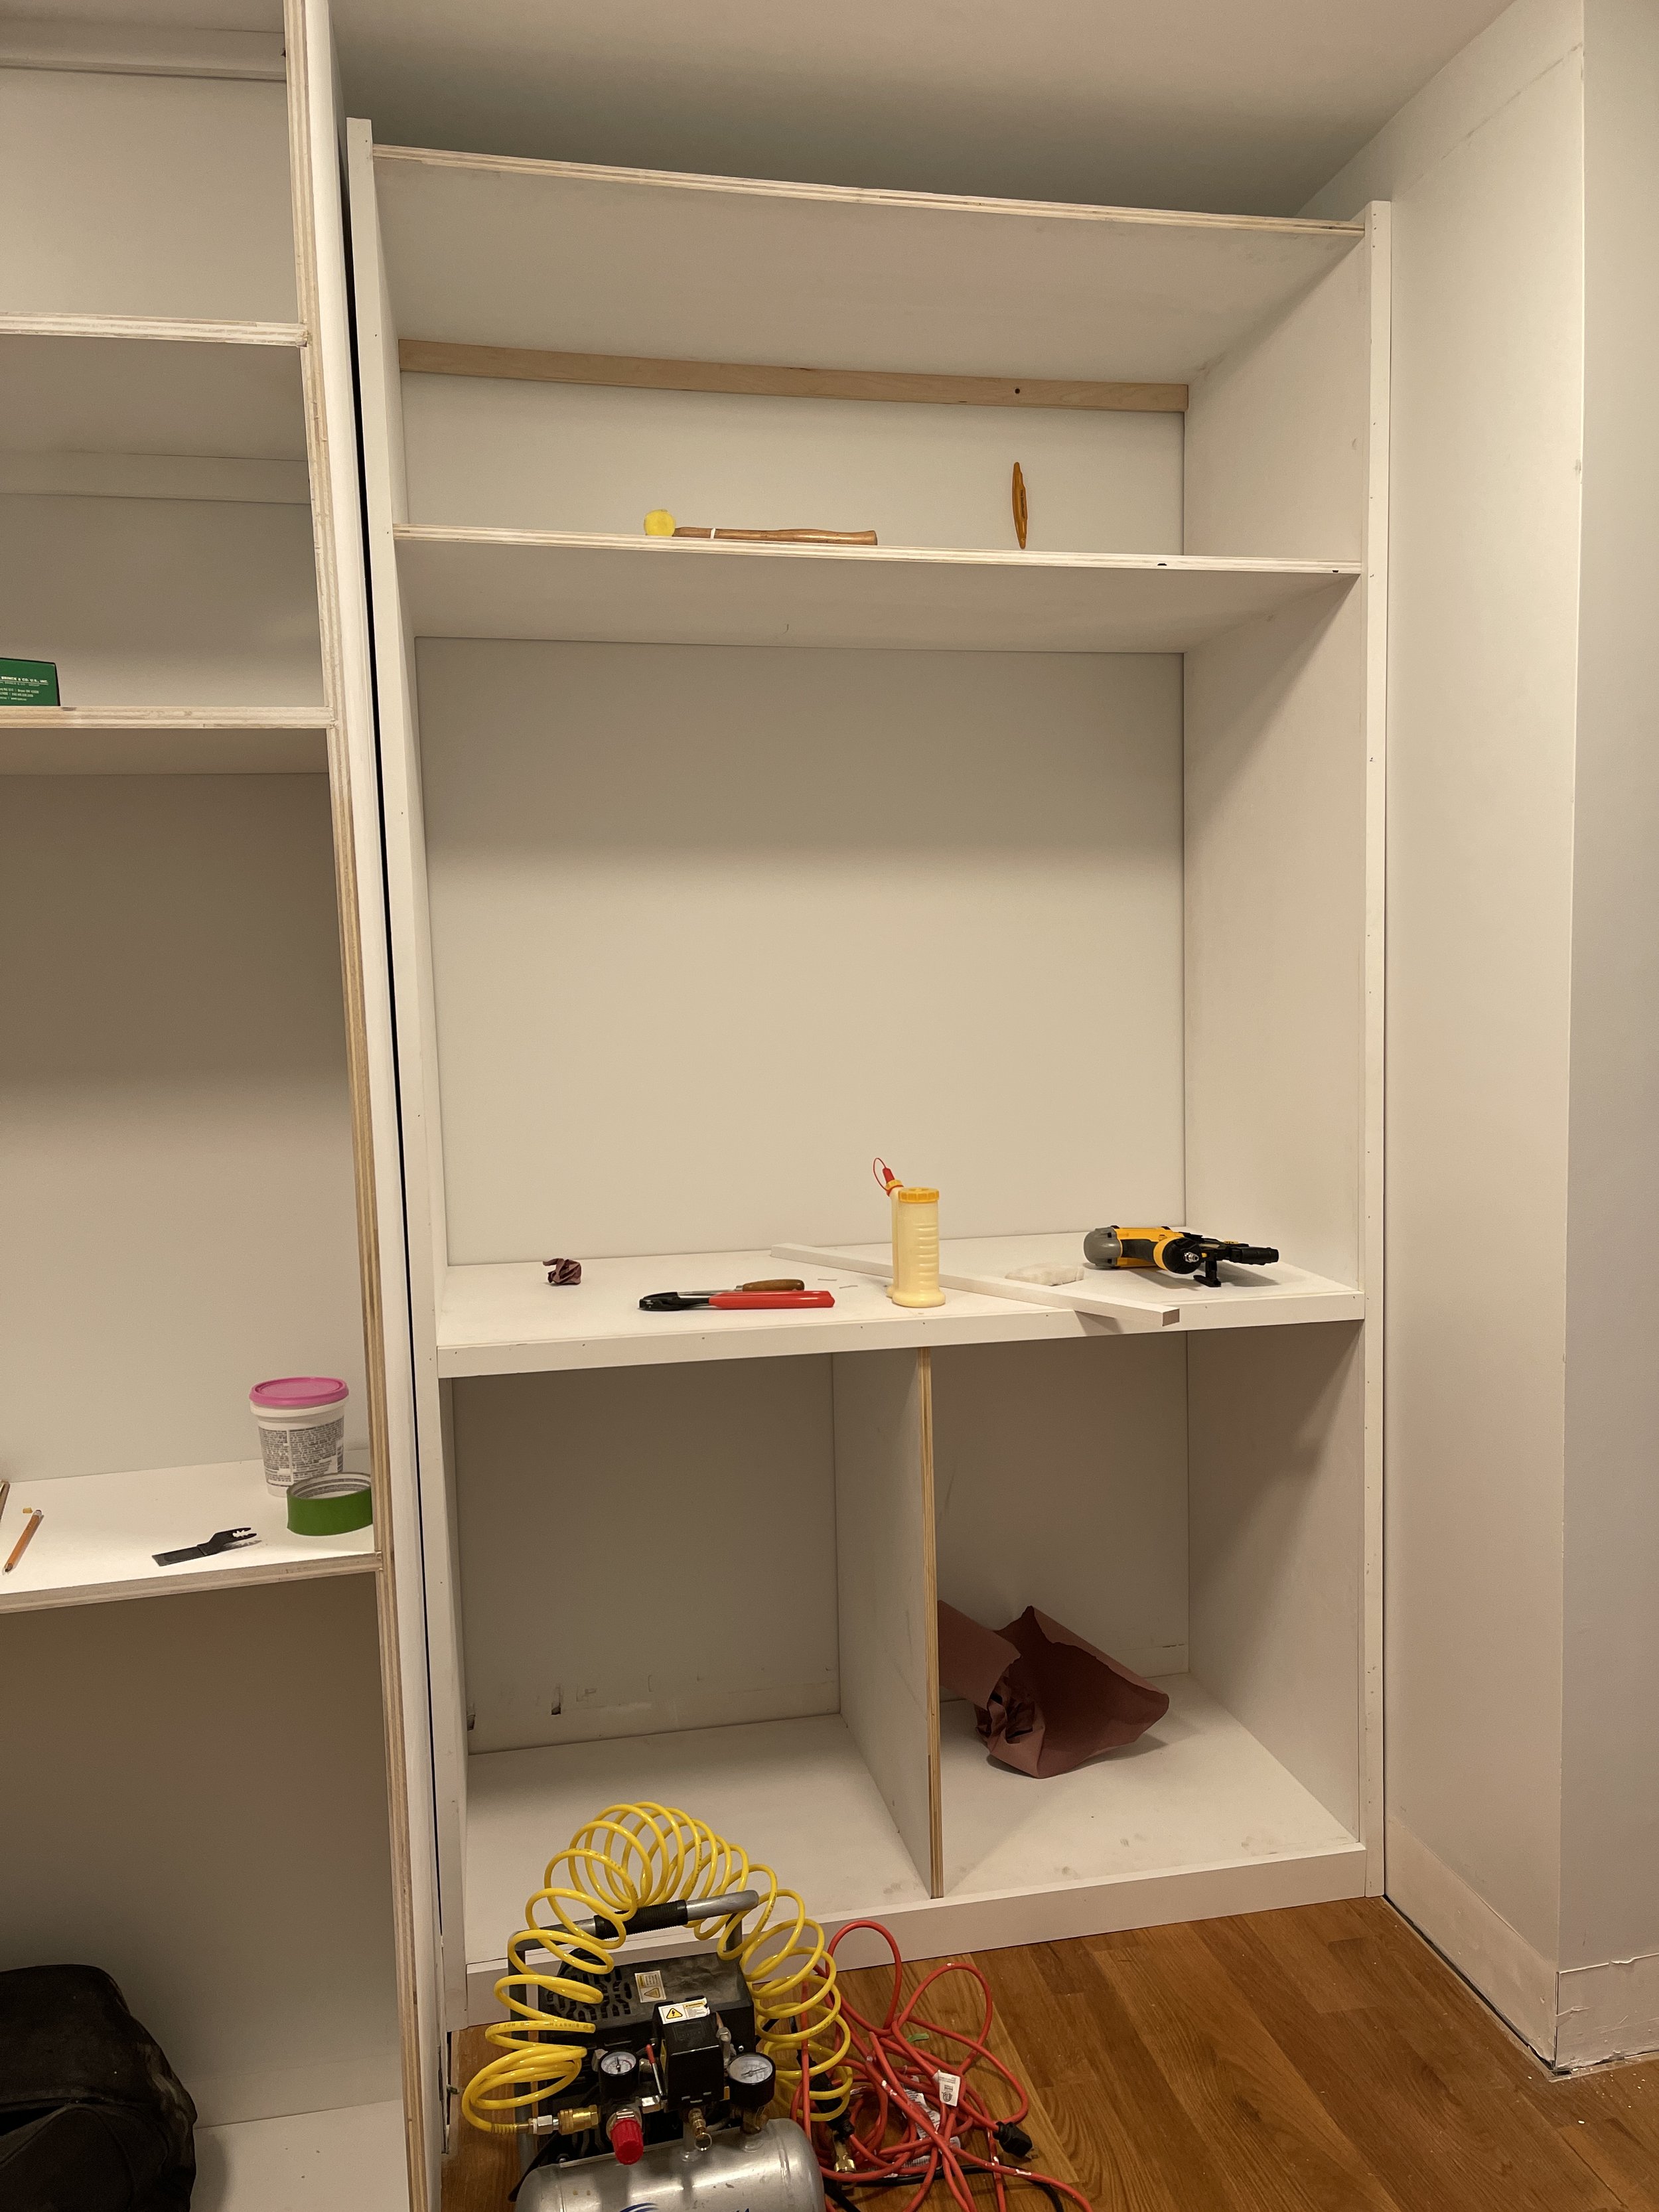
Each built in we create and install has it’s own set of challenges. Normally, we build and create each piece to a built in in our shop and then assemble, much like a jigsaw puzzle, onsite. However with the size of these pieces and the nature of the room it was in, we decided to go a different route this time. Two of the cabinets were assembled and primed on site, the rest of the pieces were cut, dadoed and primed before being brought on site.

Quality Takes Time
Each step in this process is important, although sometimes tedious. All materials here are cabinet grade maple plywood. Our cabinets are assembled using dado grooves which are done both on the table saw and also using a router when necessary.
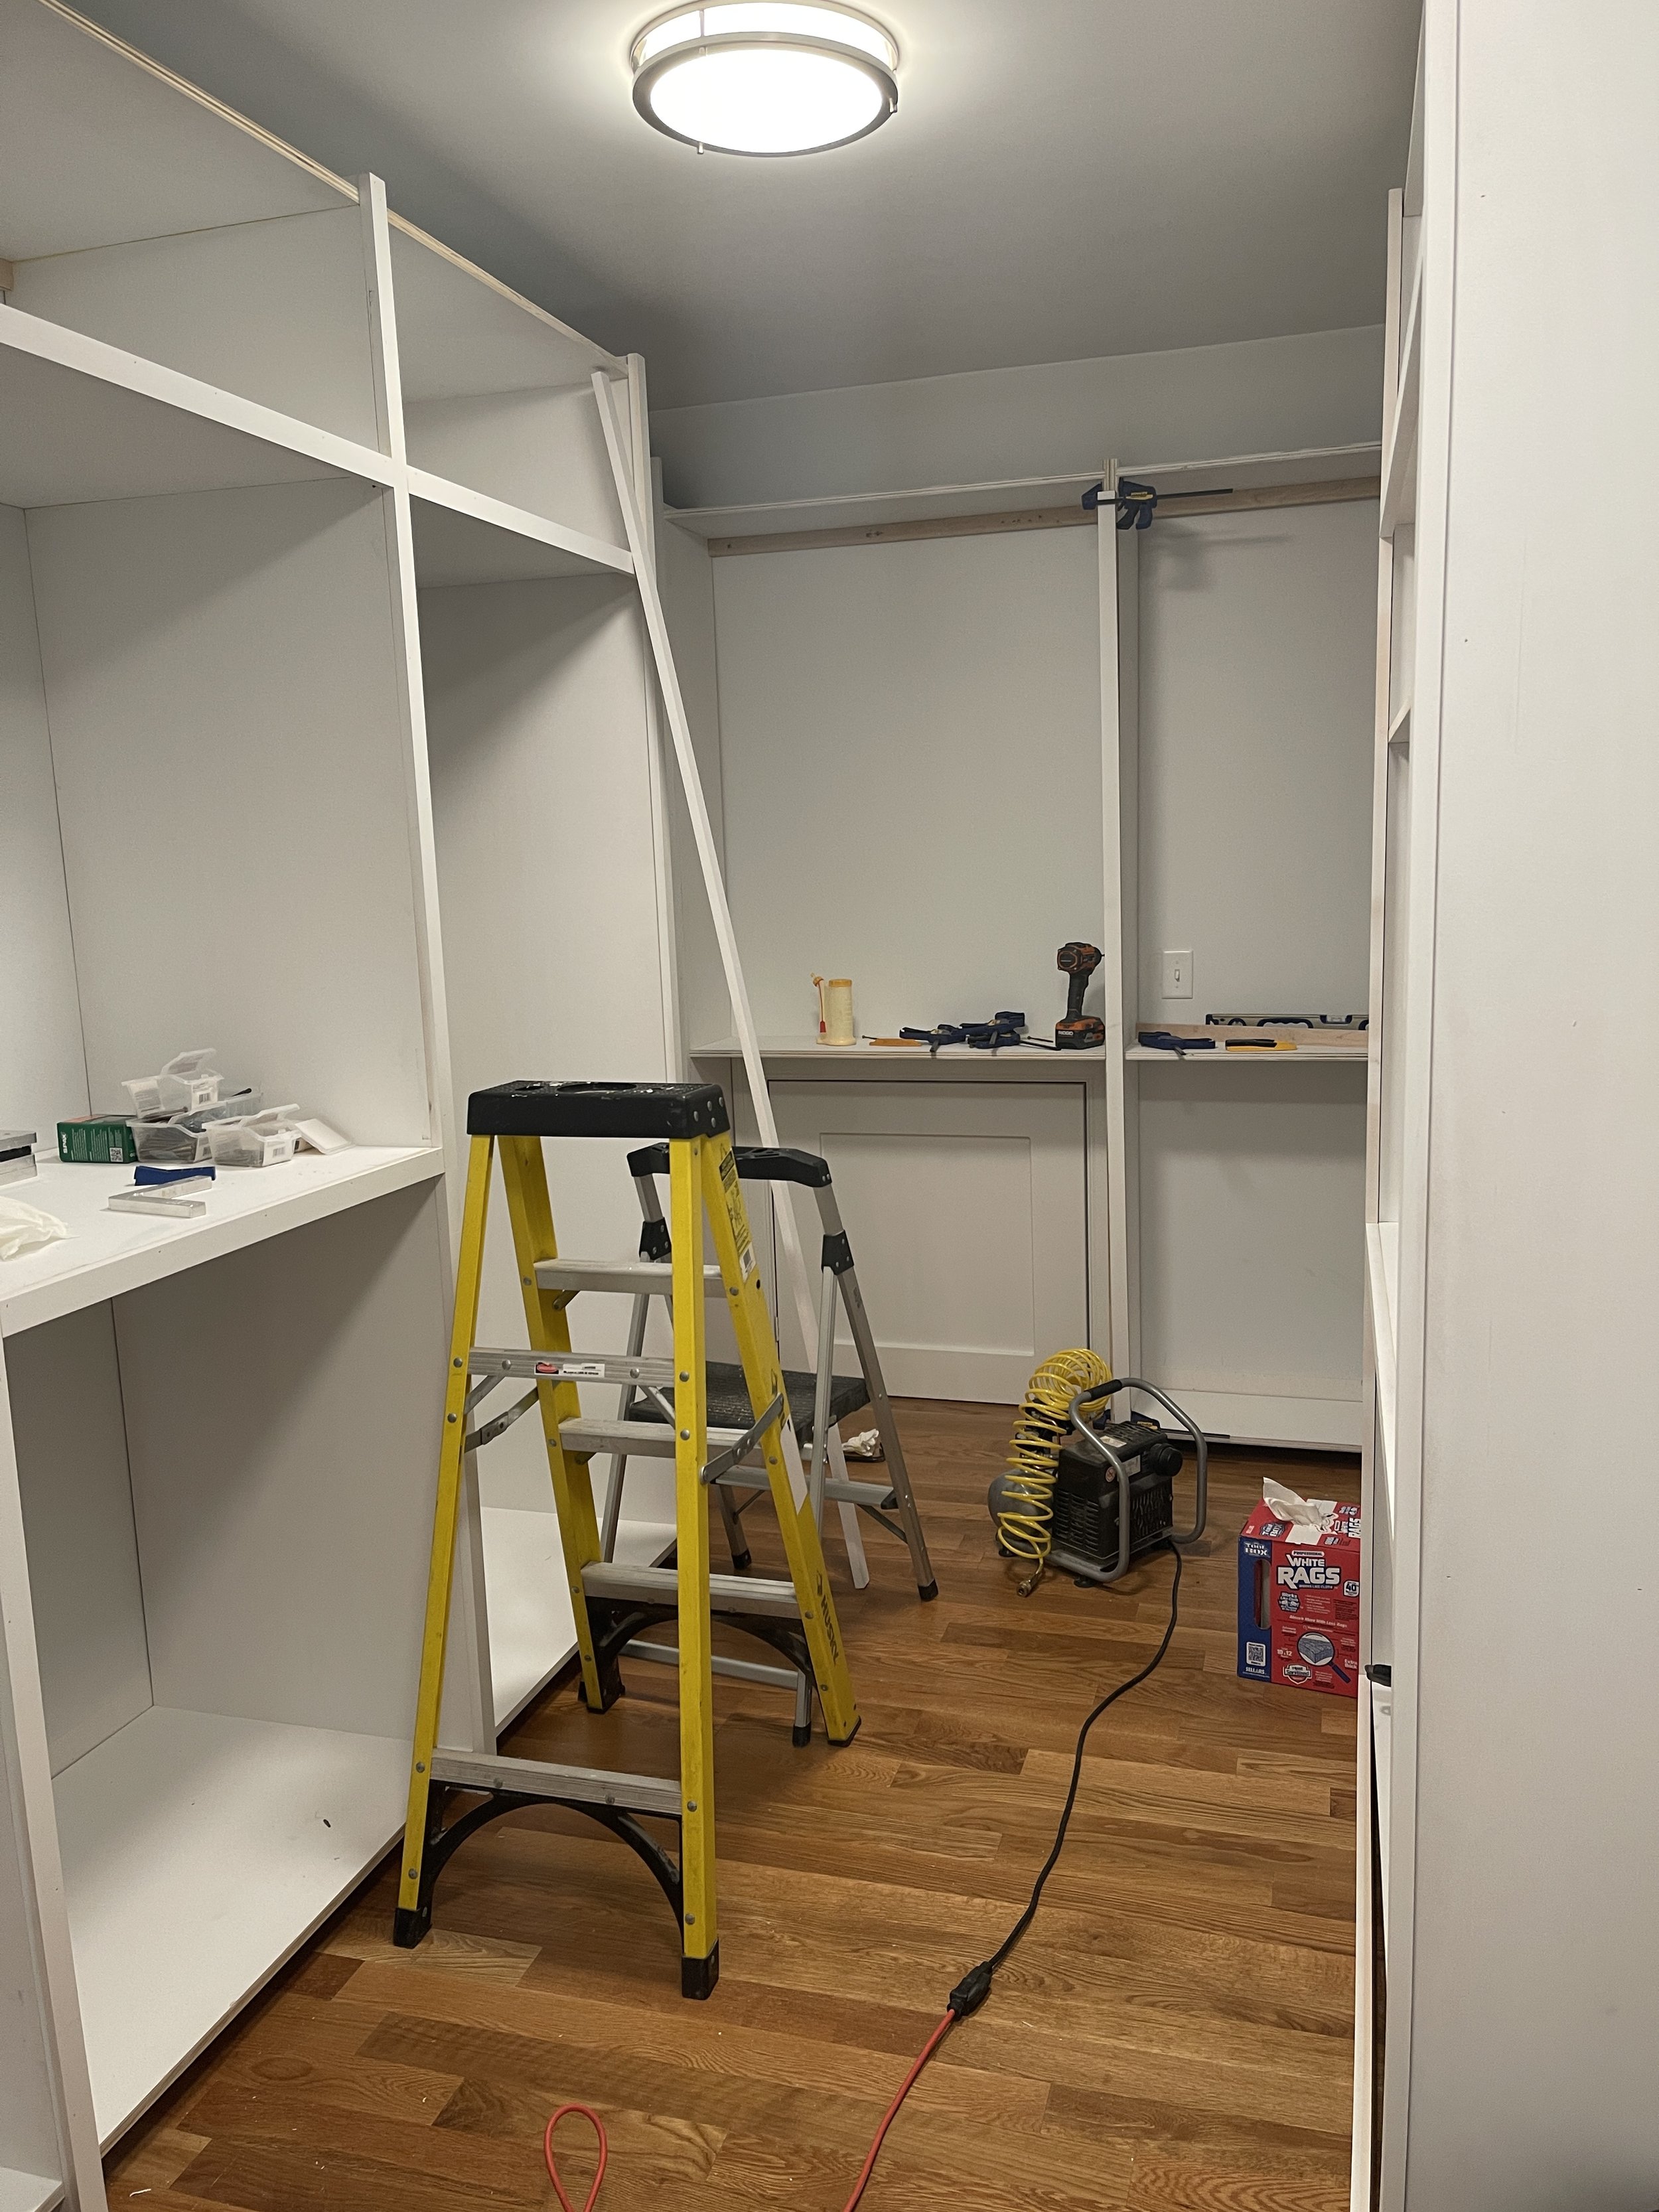
Now the fun (i.e. challenging) part! Install days are full of anxious excitement - excited to see it all come together but anxious for things to go as planned ( spoiler alert: they never do) and to see the finished product. Challenge number one in this project was getting the large cabinets in the house, up the stairs, through the master bath and into the closet! One of the questions we get most often is ‘do you work well together'?’ in regards to my husband Jay and I working together. I can honestly answer yes, for the most part we actually work really well together. But let me tell you, there is no truer test to that than moving large pieces into a customers home. We do not want to damage anything, we are there to improve spaces not make them worse! So it’s a balance of carrier usually very heavy and awkward pieces into smaller spaces, communicating enough that neither of us gets hurt and trying not to curse while doing so!
Once we had the two partially assembled pieces in place, we then took all our primed pieces and built each cabinet onsite. We then level and secure each piece. This is when we realize floors that are not level, walls that are not square etc. It always creates some issues to solve, and we always do. In this case, the walls for the vanity alcove curved to the left at the top, on both sides. Making the vanity look off, when really it was the walls. This took some creative cutting of the trim and faceframe, which then created some issues with the drawer fronts later. Every problem we solve, often creates another later in the install. I say all of this to hopefully explain that this is not a simple popping in of cabinets and calling it a day. There is so much thought and planning that goes into each install and then we still have to be flexible and creative during the install.
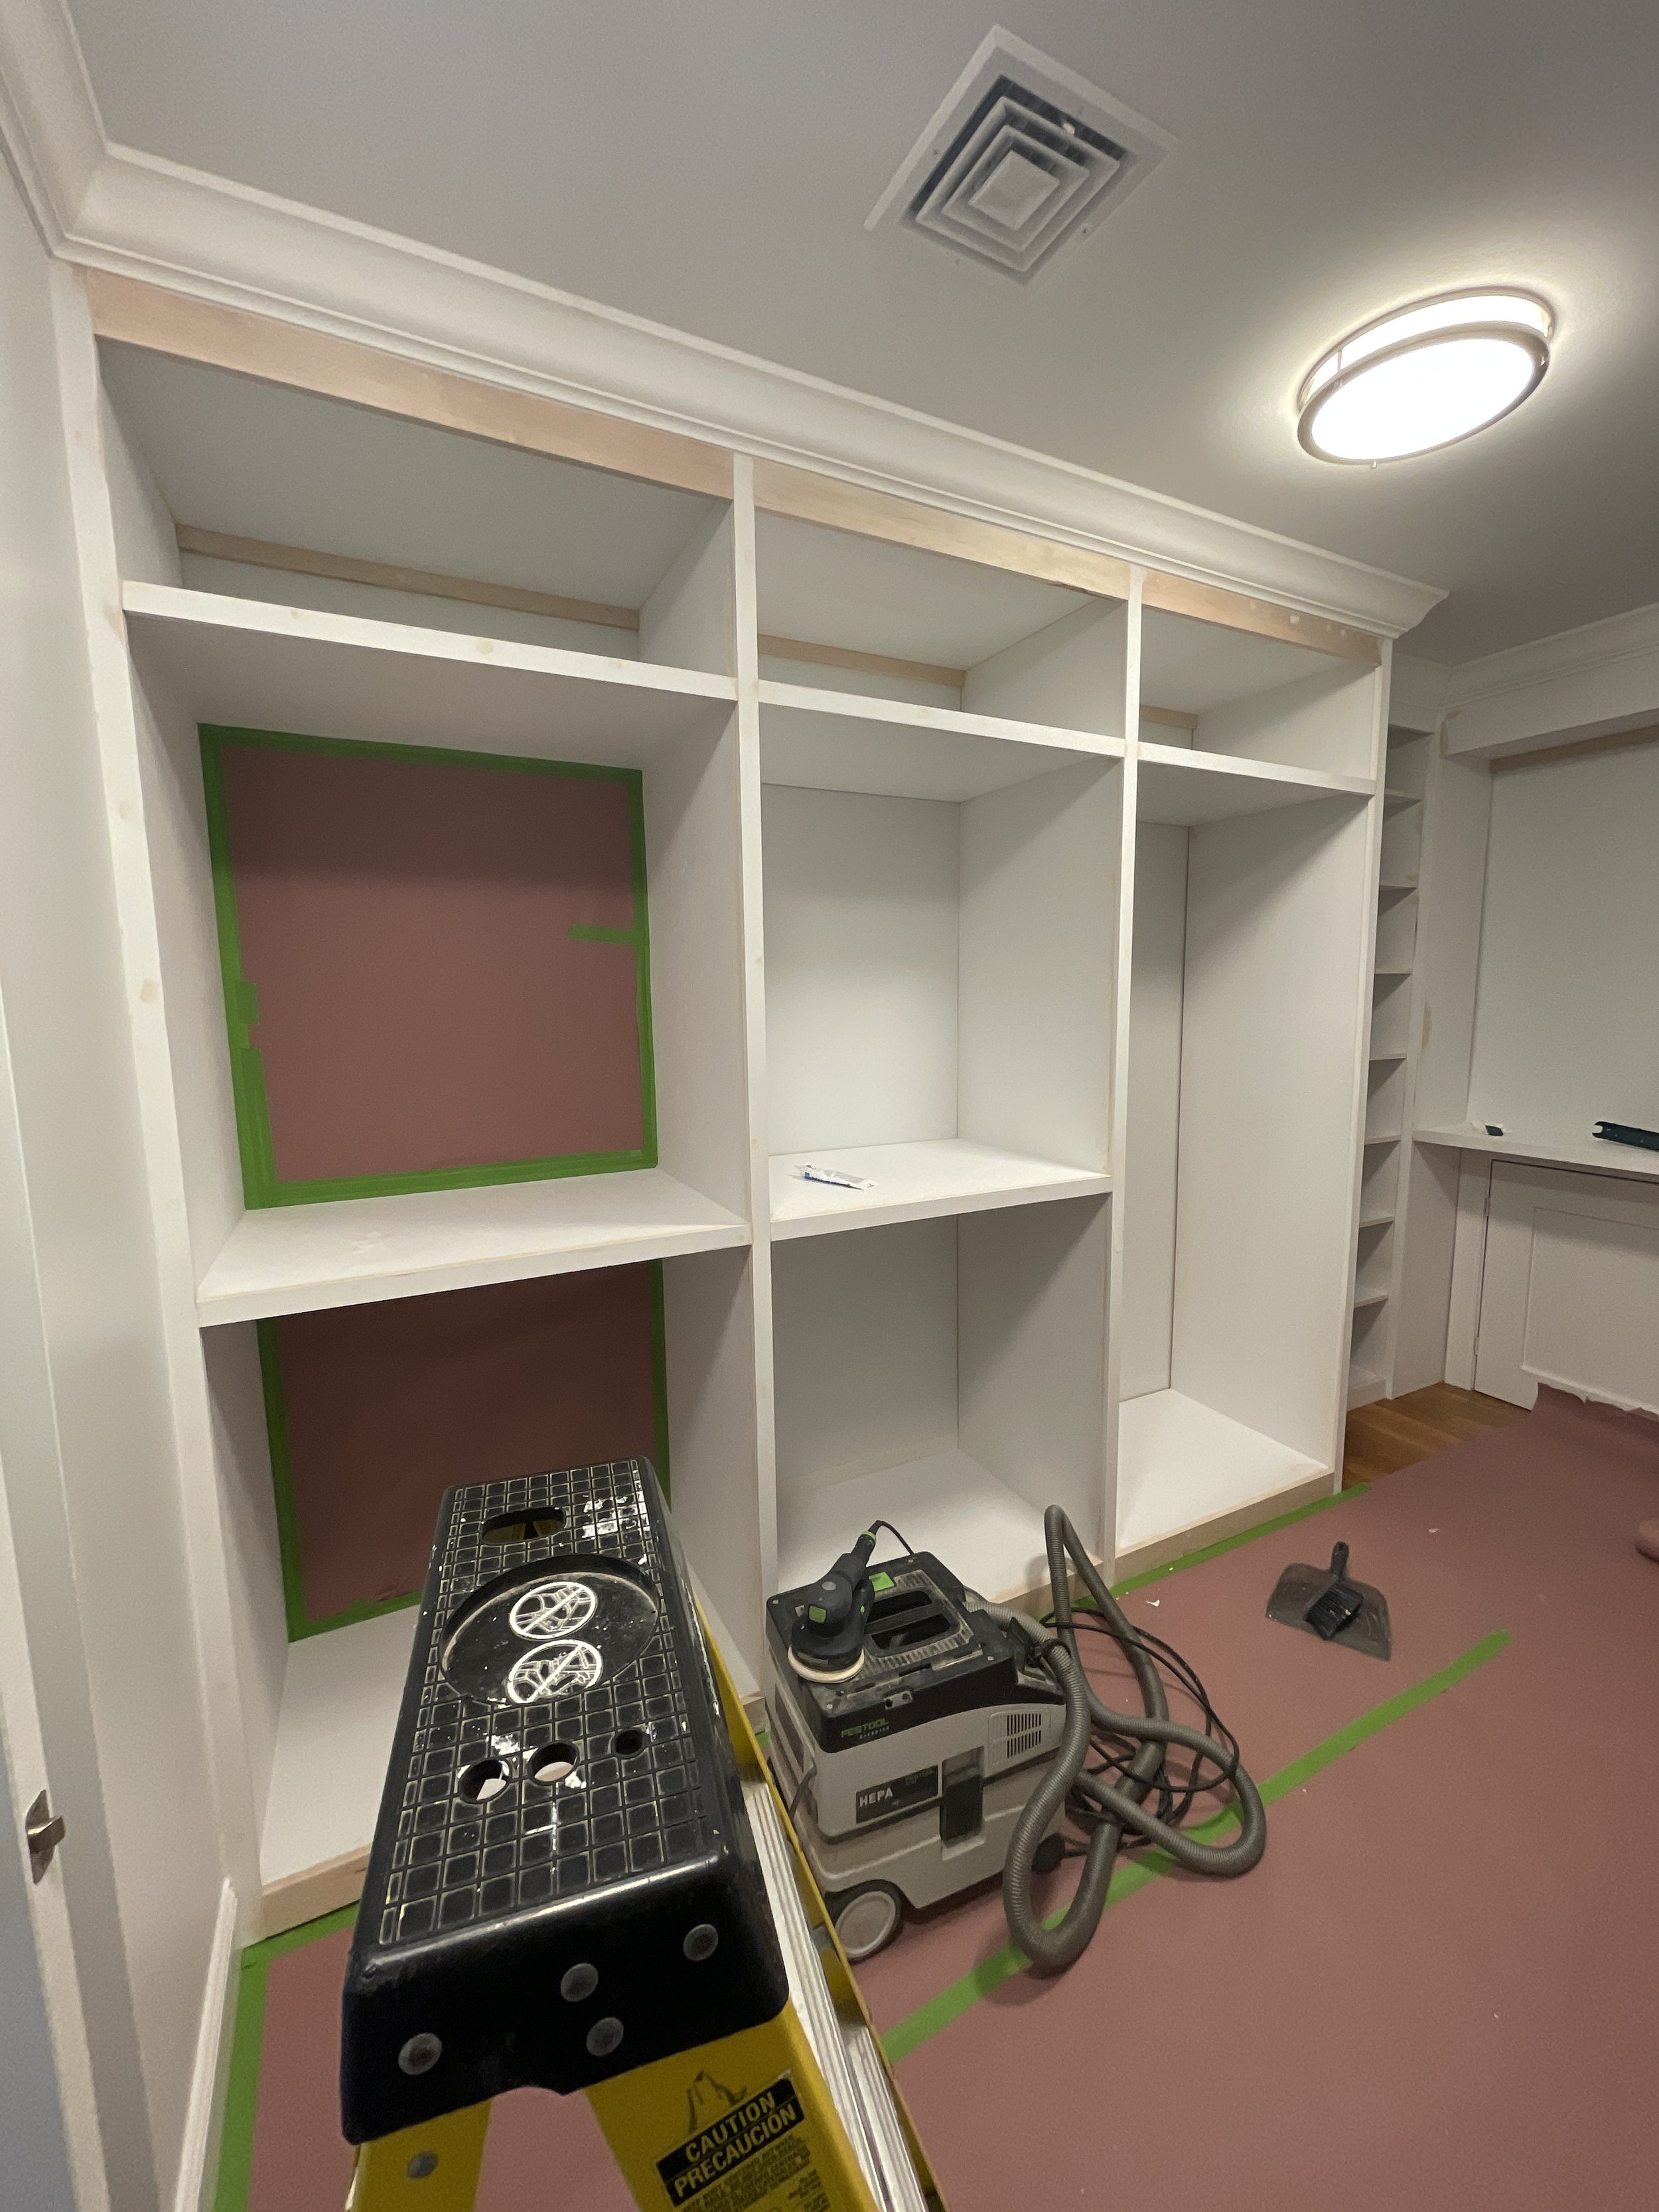
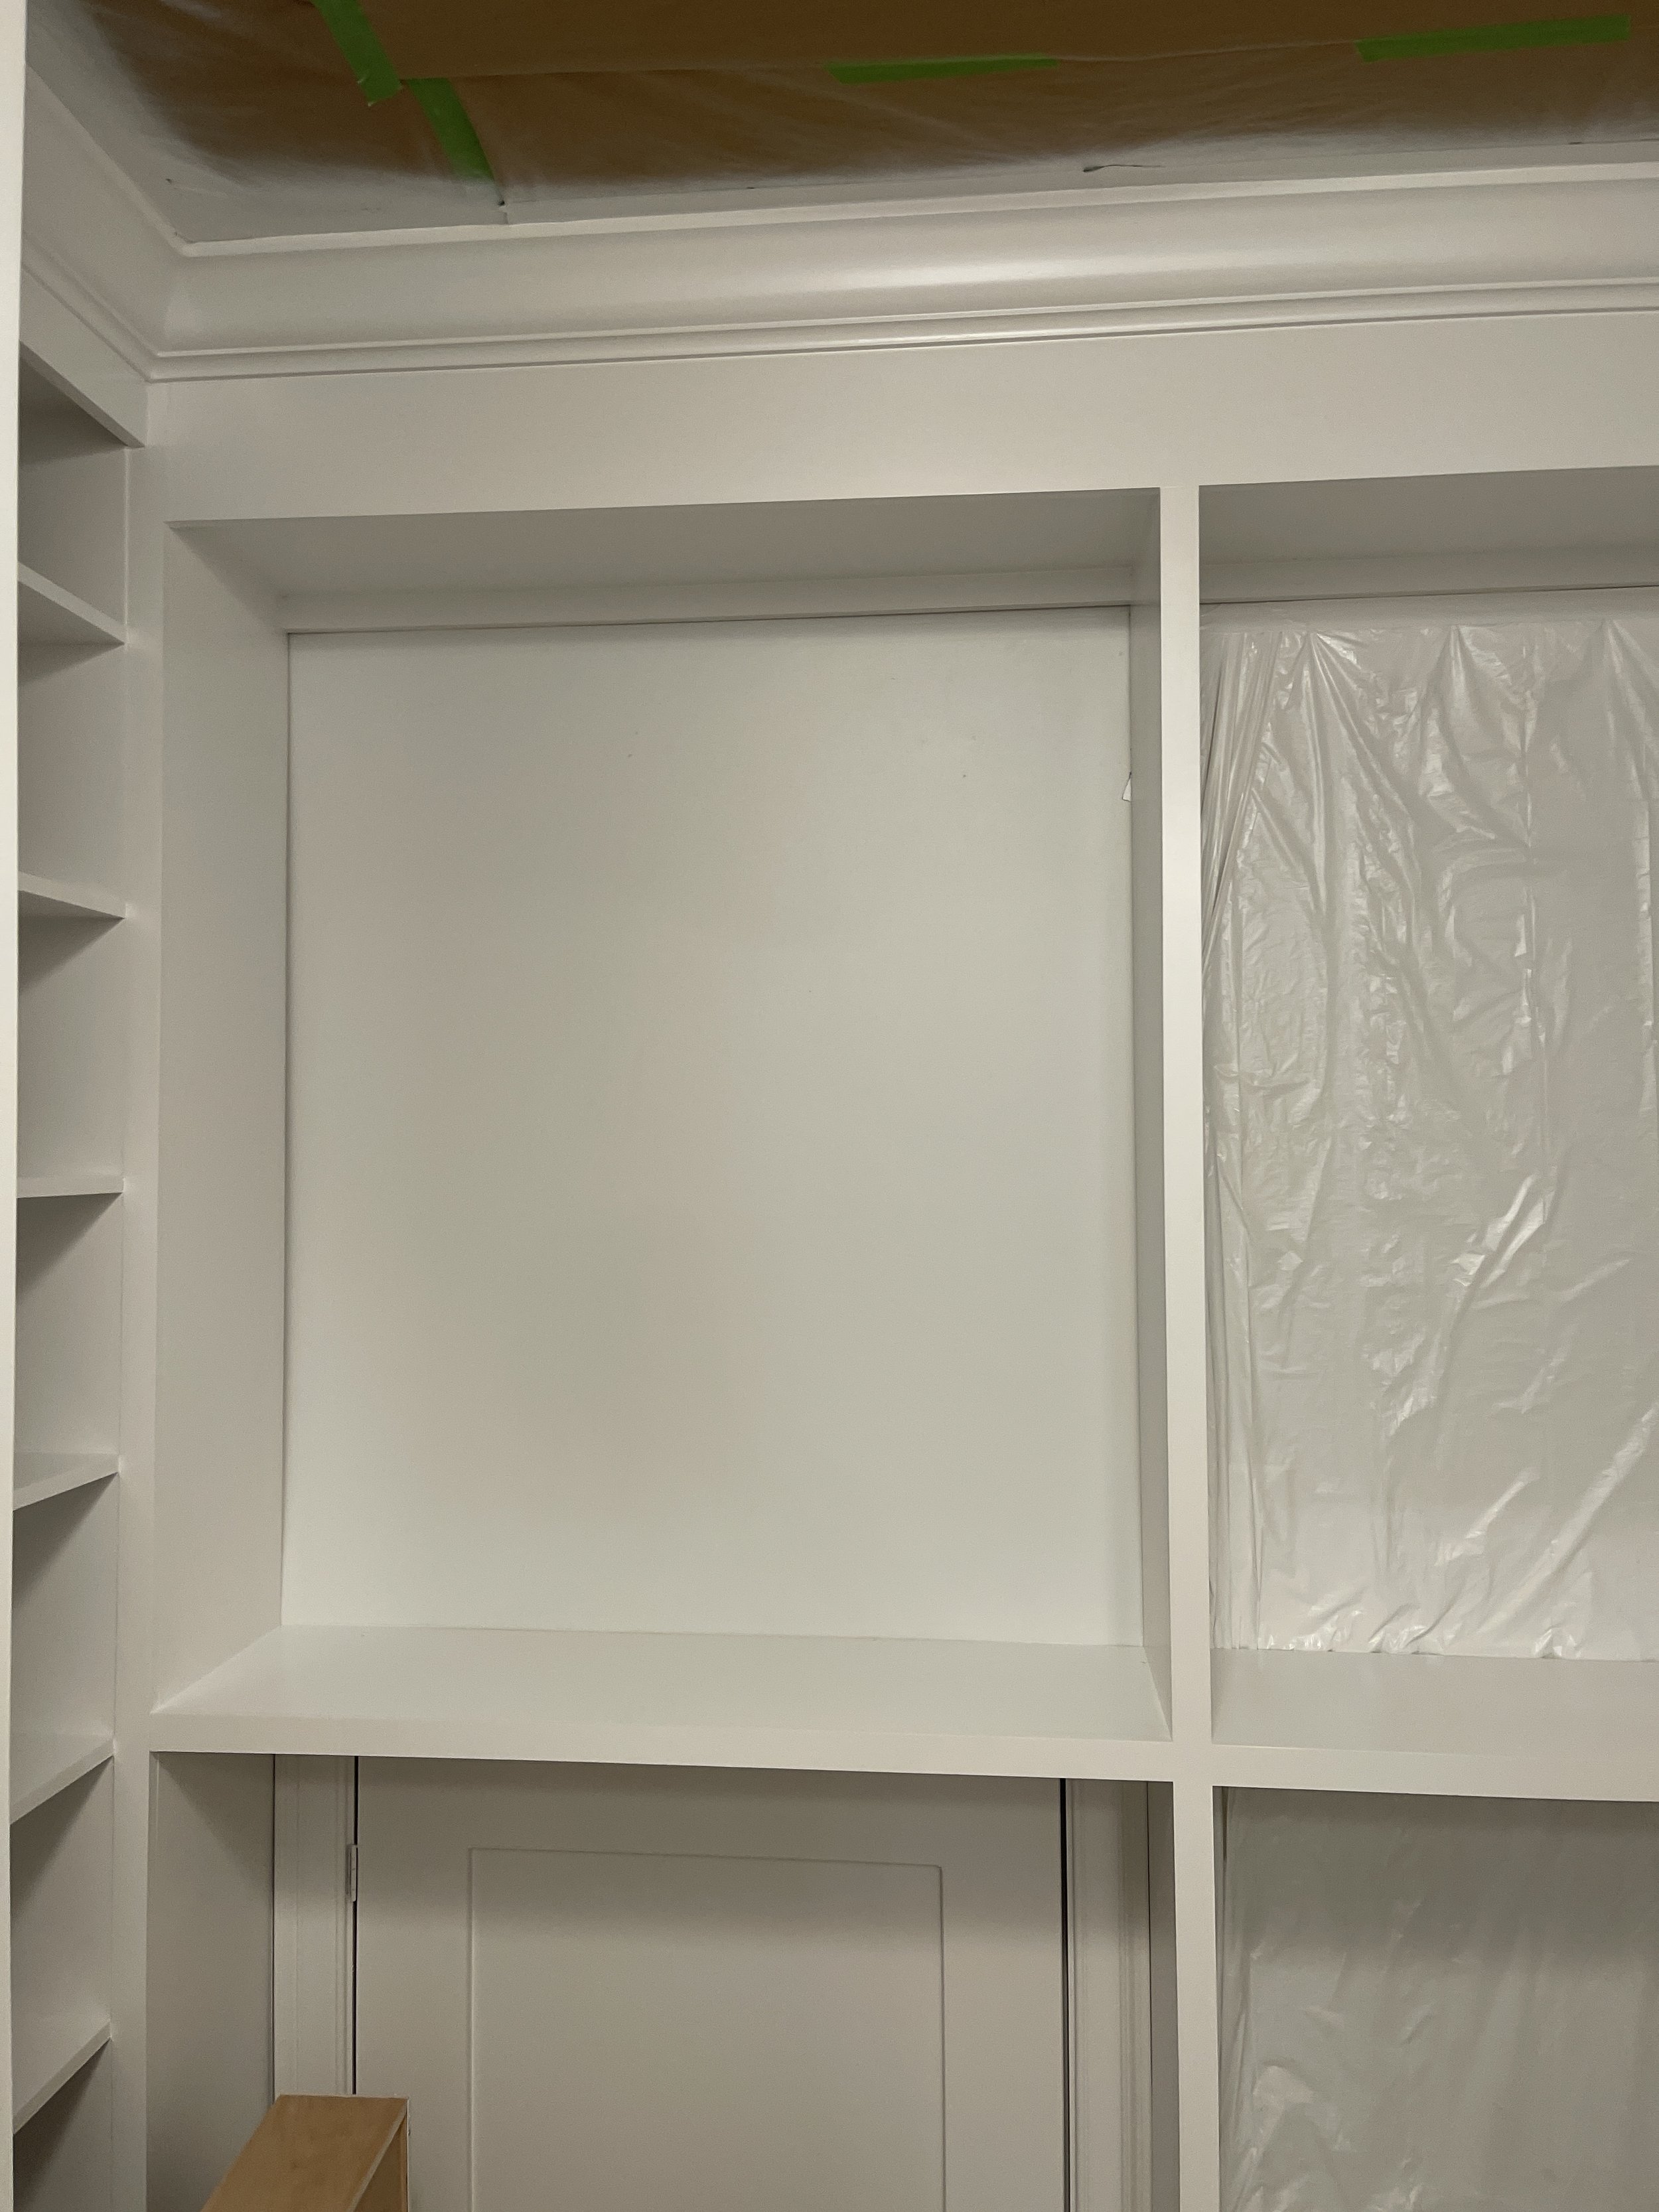
With this project being unique to what we usually do and assembling most on site, it meant that it would need to be painted on site. We felt this was the best option for this install as it was a room that could be closed off and sealed. Once everything was installed, face frames attached and trim where necessary we then added the crown molding and prepared the space for paint. This included not only taping off every area that was not being painted but also making sure each cabinet was properly filled, sanded and then cleaned. The prep work is the most important to ensuring a beautifully painted finish. Skipping these steps is something that will be regretted later (and I say this through experience!).
We then did two coats of Benjamin Moore Advanced paint in Satin finish in the color Decorator’s White (OC-149) Also, if you’re looking for recommendations on white paint colors you can see my most used and most loved colors here.
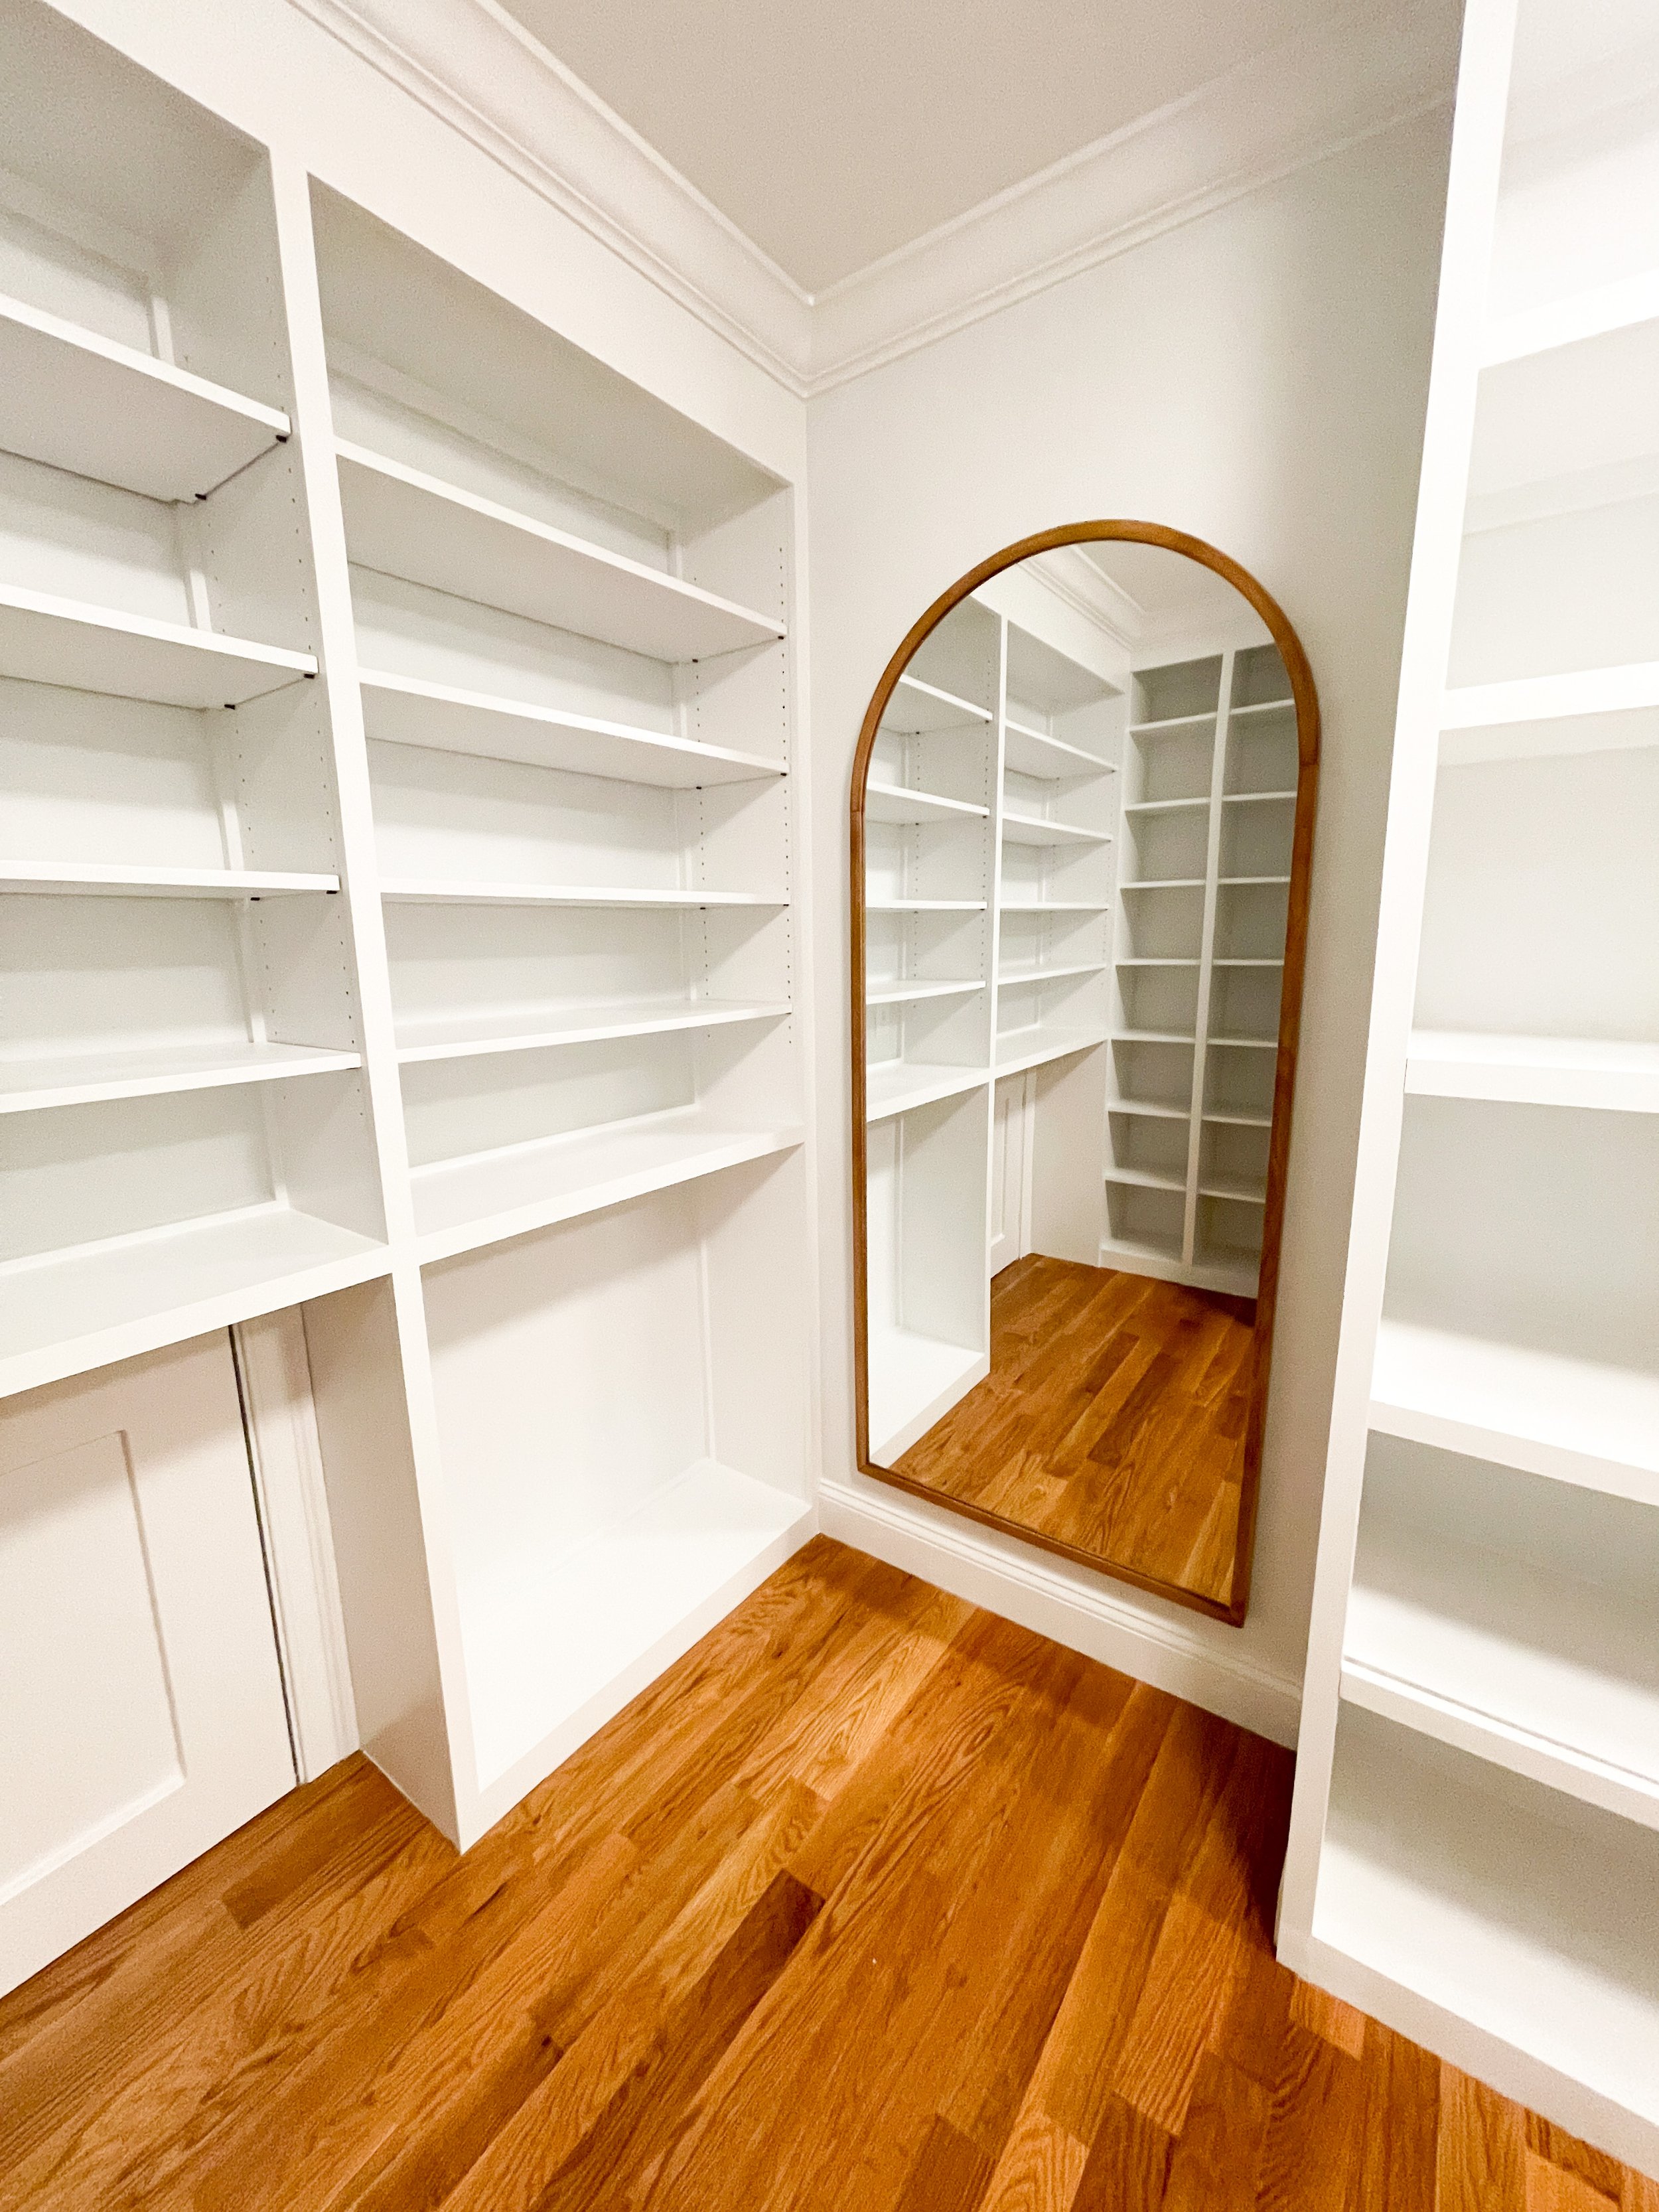
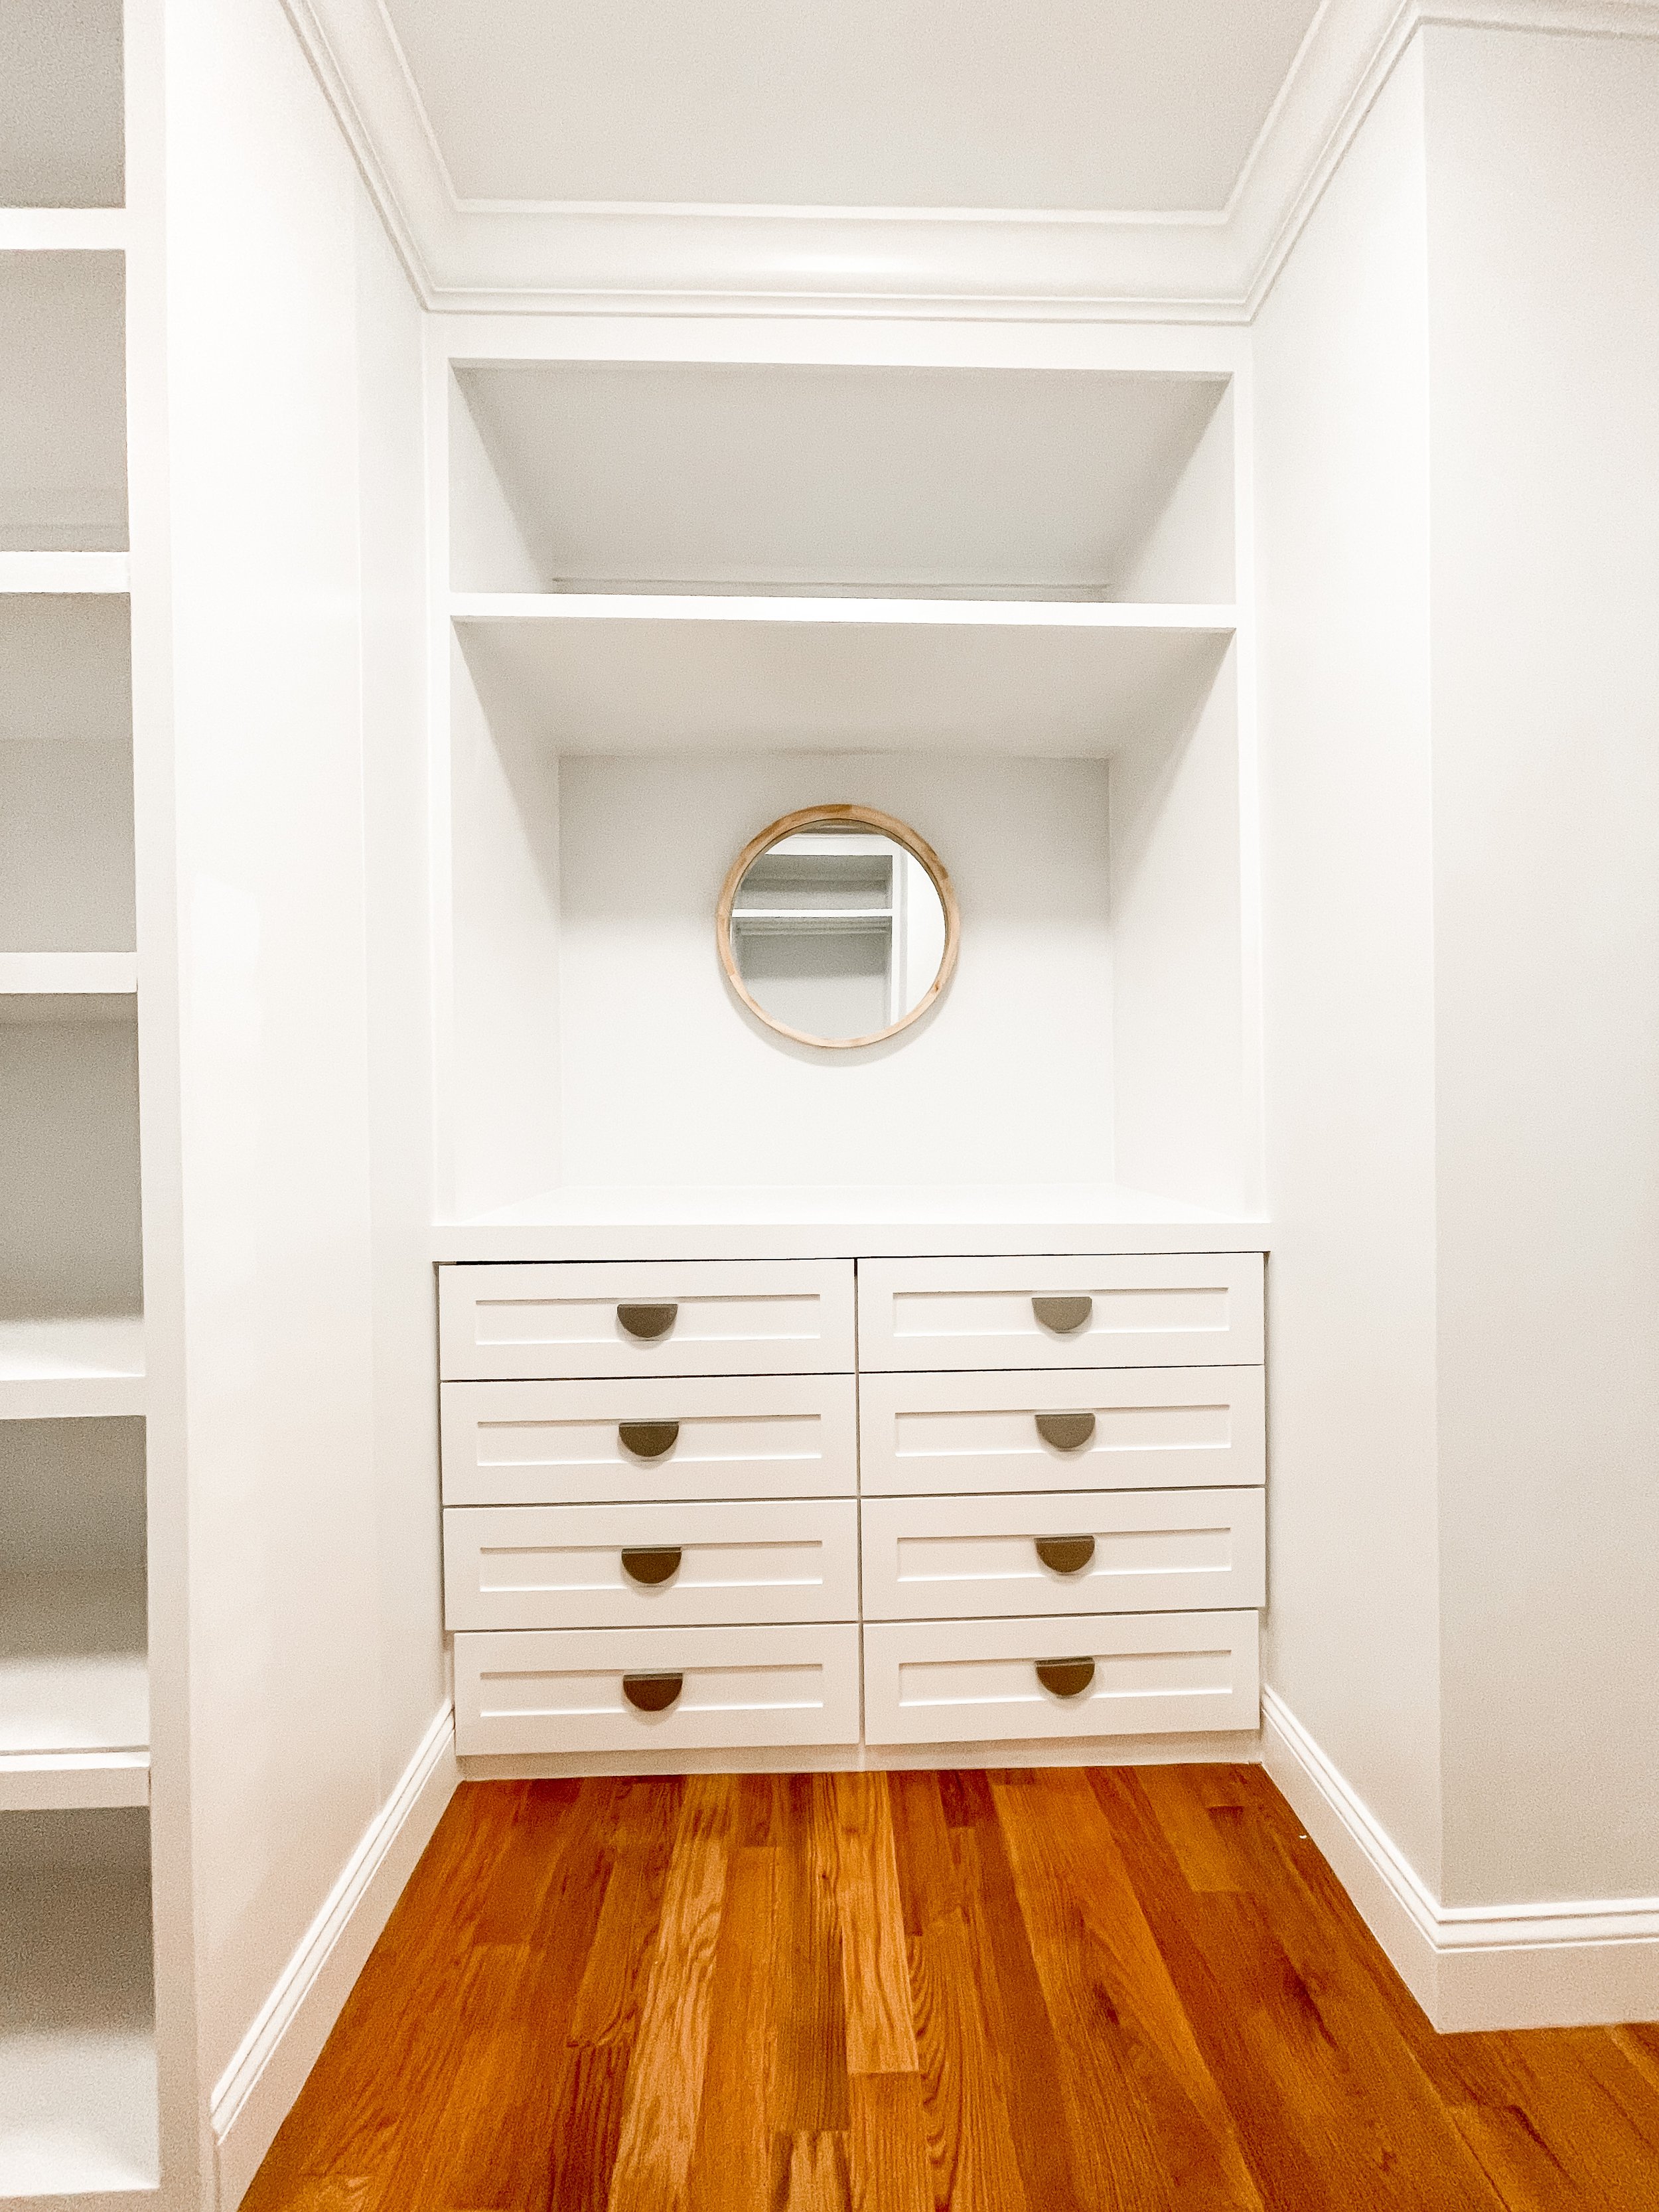
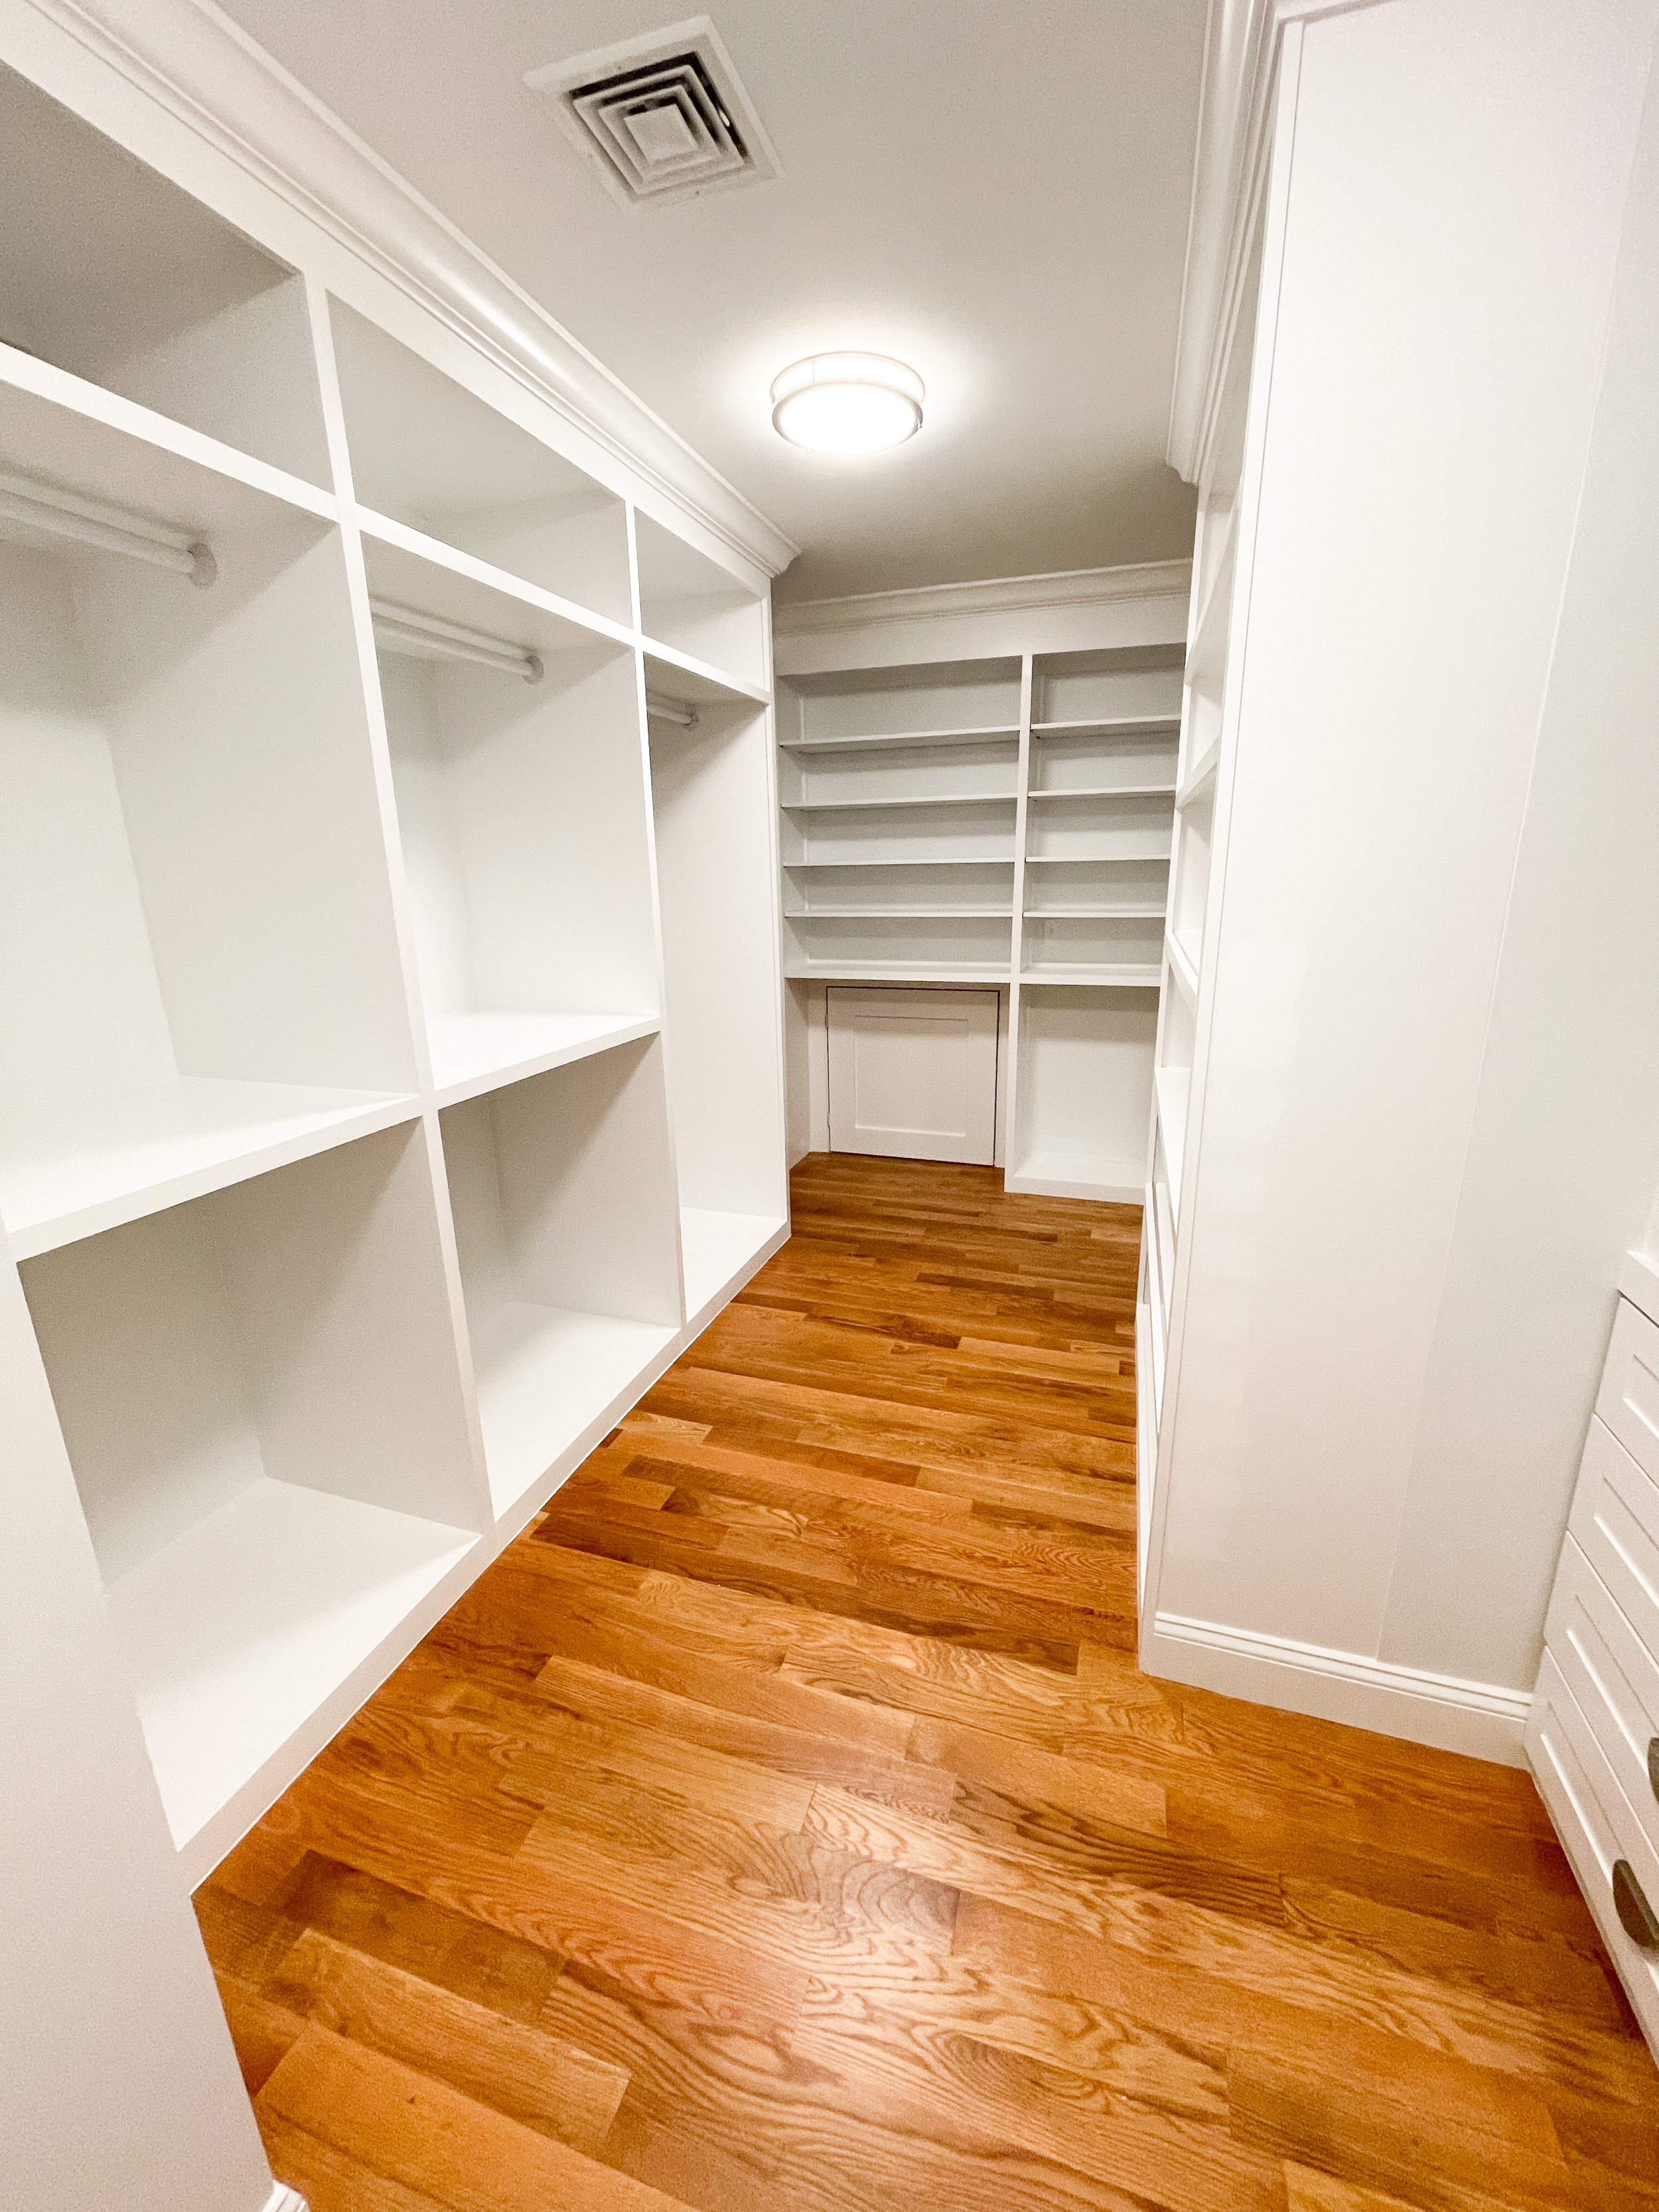
After each coat of paint, we went over the cabinetry with a fine tooth comb (read; perfectionists) and smoothed, filled and sanded any spots that needed it. Once the paint step was completed we added the finishing touches! Drawer faces were added, and adjusted accordingly due to a slightly shifted cabinet. We added the closet bars, adjustable shoe shelves and the mirrors were hung.
I realize when I say that this is my favorite part, that it is naturally everyone’s favorite part but for me, it’s a bit more. Its a true test of all of the hard work that goes into each project we complete. That we actually pull it off. That we adapted, corrected, and improved. The final reveal is such a sigh of relief for us, but only after we know that the homeowner is happy with it. It’s not about the validation that we did a good job, but more than this is exactly what they had envisioned, or even better than imagined.